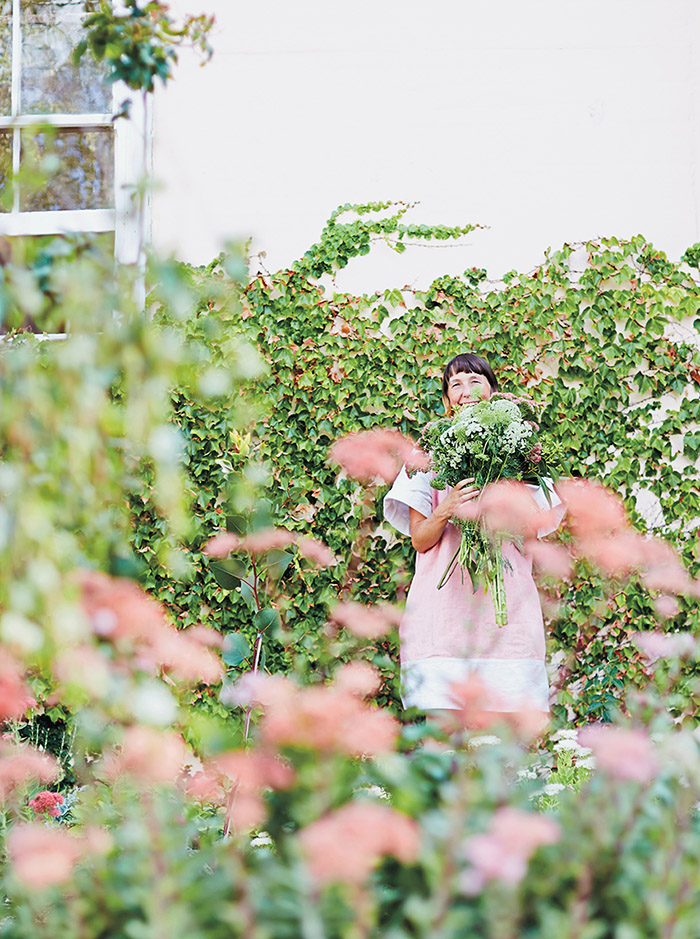
Beci Orpin’s fourth book Sunshine Spaces has just been released and it’s full of the colour and whimsical beauty that is Beci’s trademark style. The book is bursting with DIY ideas for indoors and out and it’s all about bringing the sunshine into your life and home. I’m delighted to be able to share this lovely guide and Beci’s tips and shortcuts on how to press flowers – one of the fun projects from Sunshine Spaces.
“When I was a child I used to press flowers with my grandma, and I remember never having enough patience to wait the weeks and weeks before the flowers were completely dried and pressed”, said Beci. She’s since discovered that there’s more than one way to press flowers, so you don’t have to wait forever and ever before they are ready. Good news for Beci because she says “I still have as much patience as a five-year-old”.
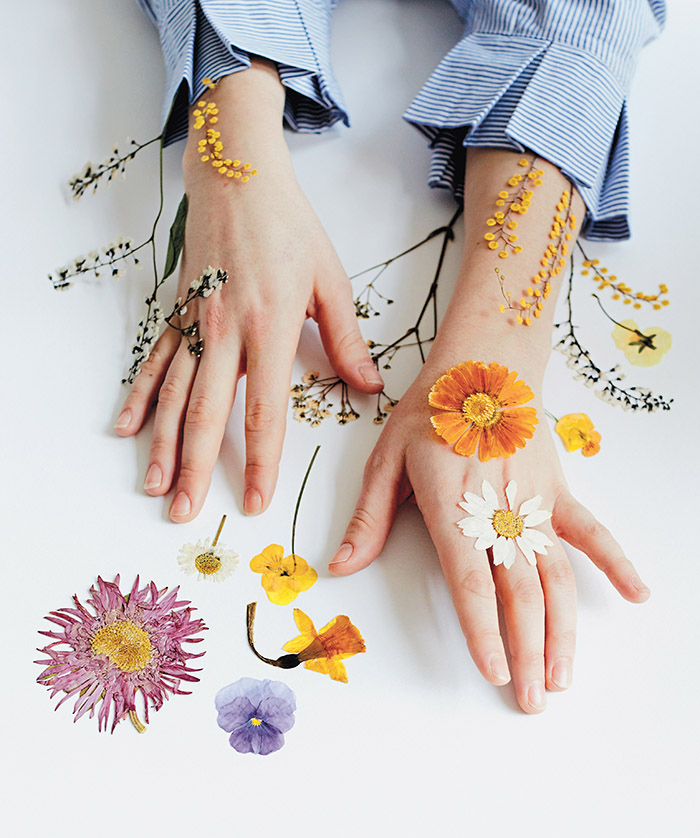
Let’s Press Flowers
You’ll need:
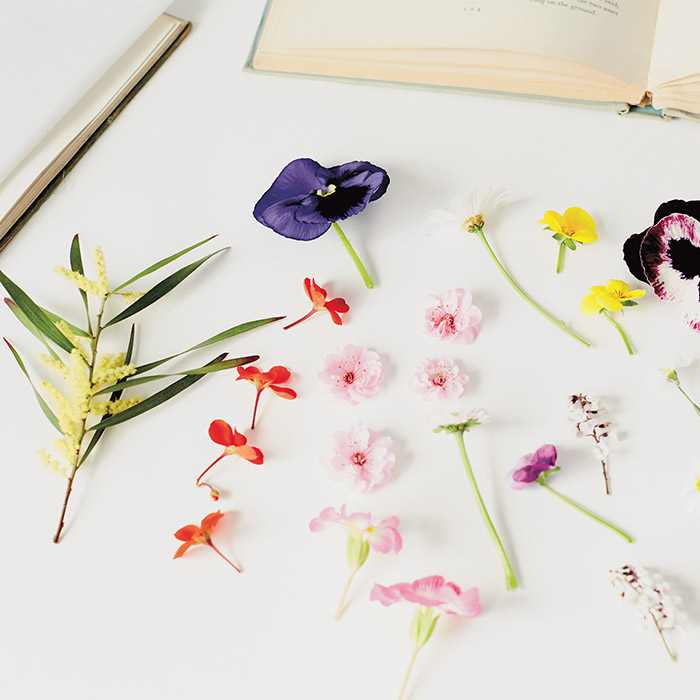
Flowers and foliage. Flowers with flat petals are best – Beci’s faves are pansies, geraniums, flowering weeds – anything pretty and dainty. Click here for a list of suitable blooms.
Depending on the method you choose: a book or an iron.
Paper or card. Try blotting paper, coffee filter paper, printer paper, or several layers of tissue paper.
Beci’s Tips
Flowers should preferably be freshly picked, to prevent browning.
Don’t pick your flowers too early in the morning, as they will still have dew on them. The extra moisture from the dew may cause them to go mouldy during the pressing process.
Flowers should have just bloomed or be about to bloom. If they are too mature, they will lose their petals.
If the flowers have obvious stamens, remove them before pressing.
Method 1 / Pressing in a book
Beci says “This is the easiest but slowest method; I found it produced the best results”.
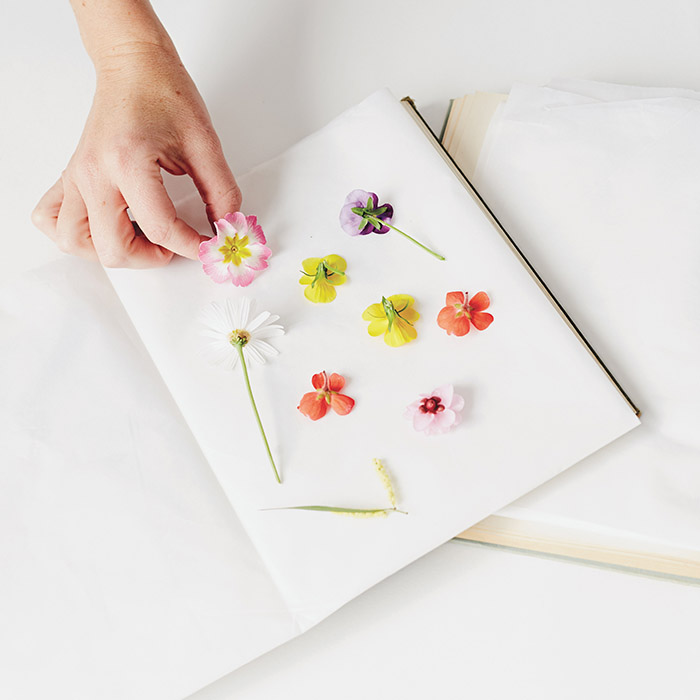
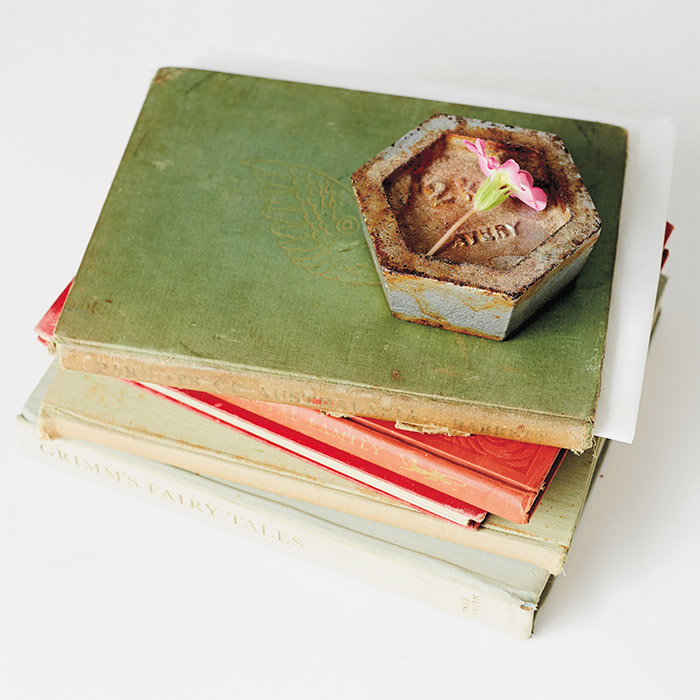
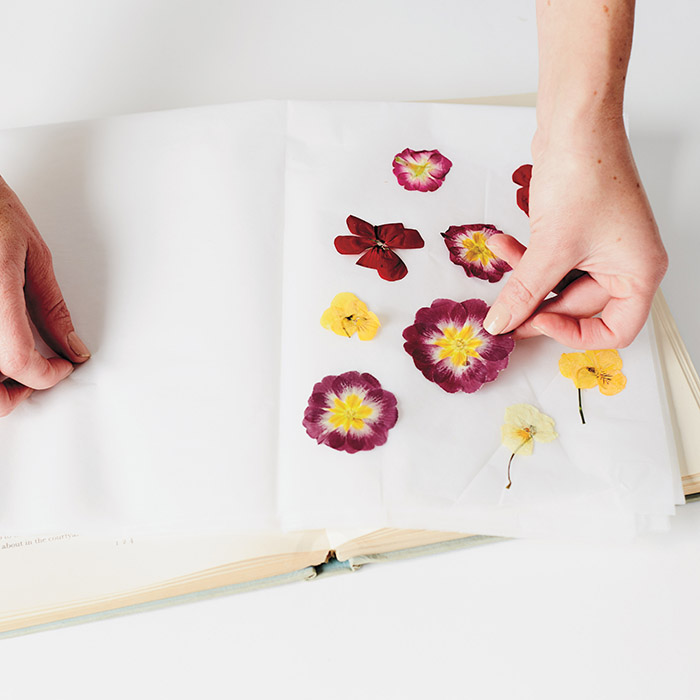
Open up your book and place a sheet of paper on one side of the book.
Liquid from the flowers can leach into the surrounding pages, so use an old book or several sheets of paper to prevent this.
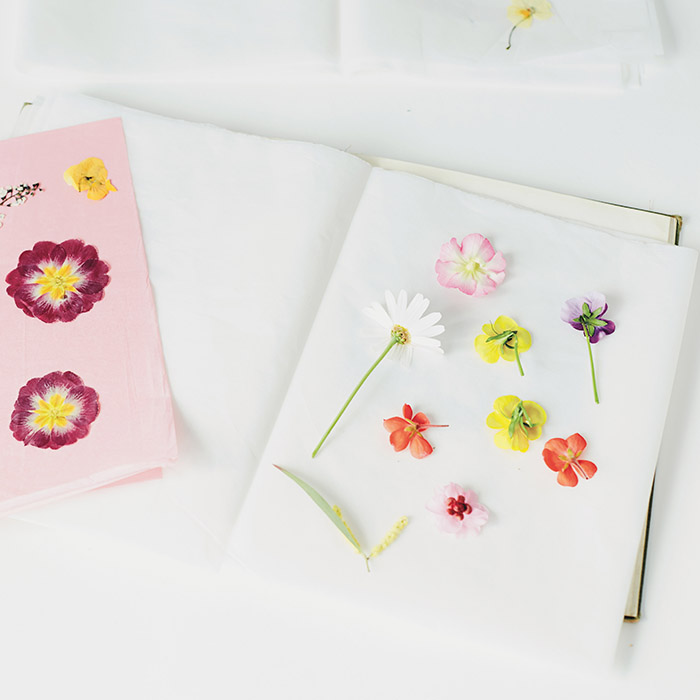
Arrange your flowers on the piece of paper, making sure the flowers aren’t overlapping (unless you want them to). Cover with another piece of paper and close the book.
Weight down the book by placing some heavy books or bricks on top of it.
Change the papers after 1 week, then leave for a few more weeks until the flowers are completely dry. Try to resist the temptation to check them (unless changing the paper), as this can disturb the flowers.
Method 2 / Ironing
Flatten the flowers between pieces of paper in a book, following the first steps of Method 1.
Leave the flowers to dry for at least 1 day.
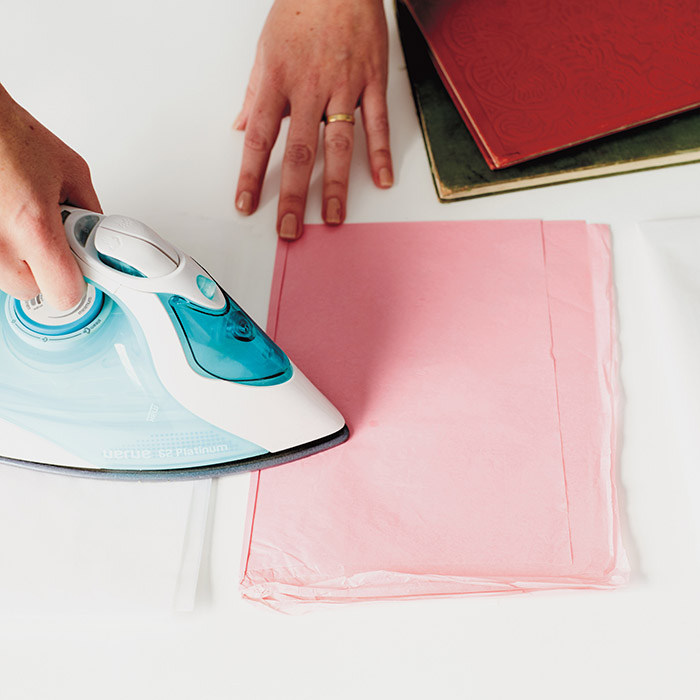
Empty any water out of the iron (you don’t want any steam), and set the heat to the lowest setting.
Remove the flowers from the book, leaving them sandwiched between the two pieces of paper, and press them with the iron for 10–15 seconds. You don’t need to move the iron around, just press it on the paper.
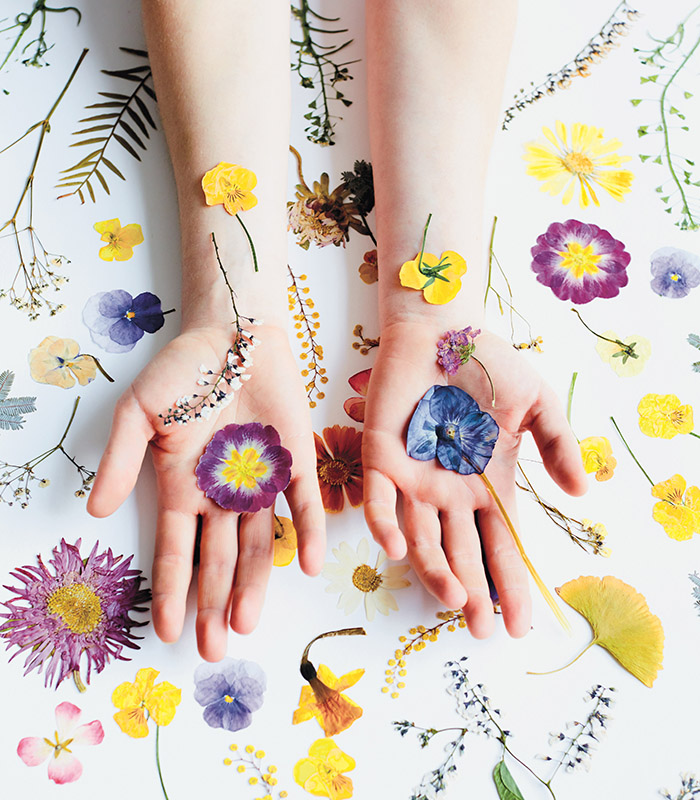
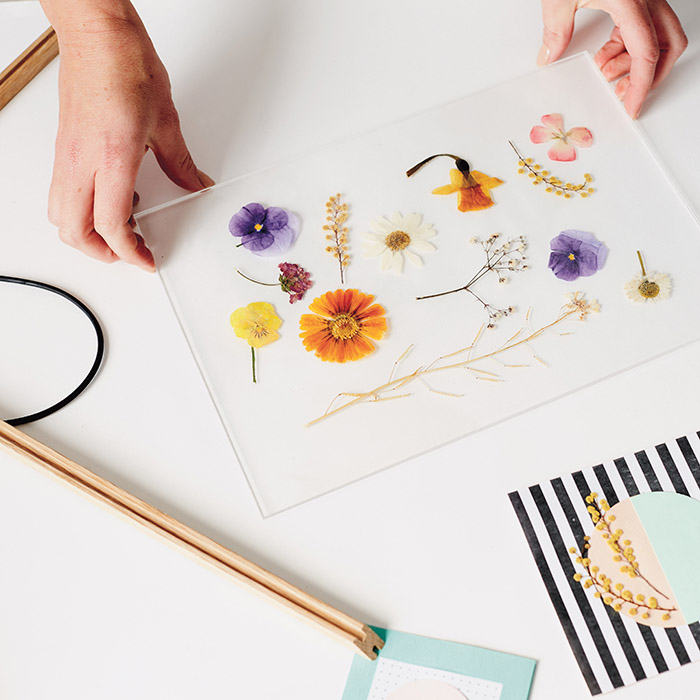
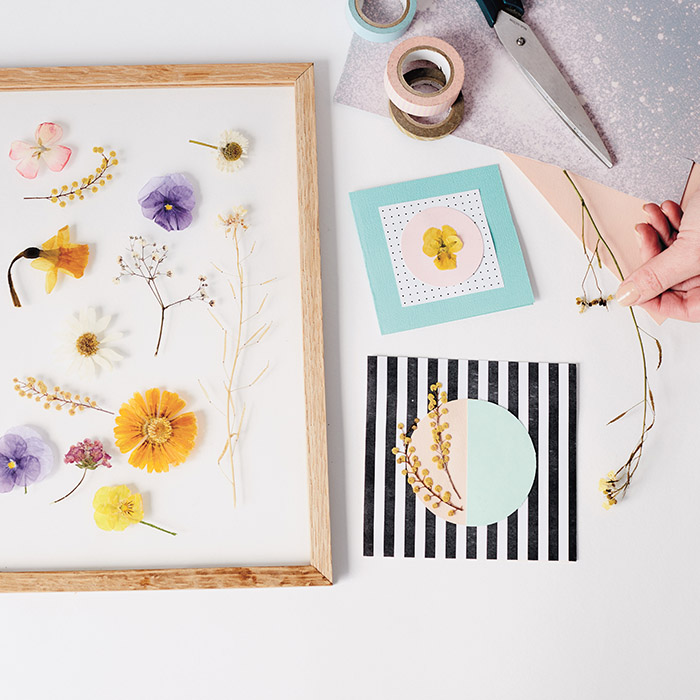
Show off your pressed flowers in by framing them between two sheets of glass or acrylic, add them to cards and gifts, or keep them as your own special secrets in a lovely book.
Sunshine Spaces by Beci Orpin
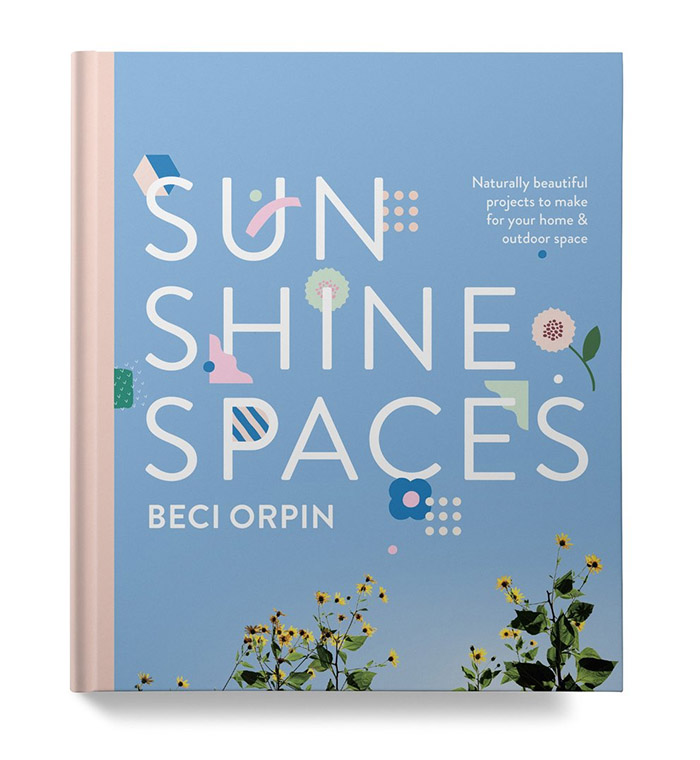
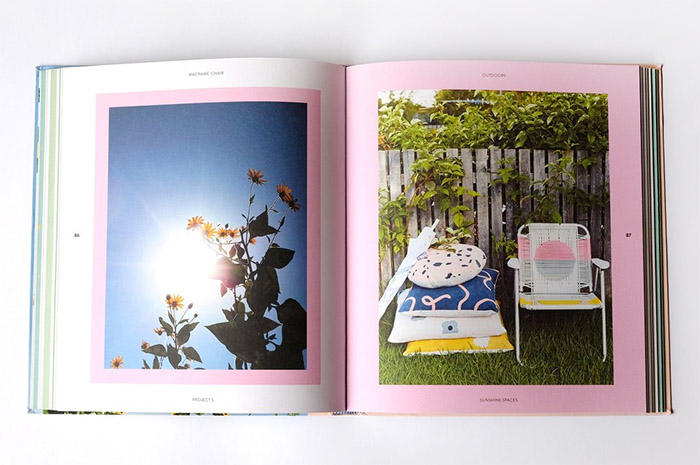
This gorgeous book is out now and includes lots of craft projects for your home and outdoor space. This is an edited extract from Sunshine Spaces by Beci Orpin published by Hardie Grant Books RRP $39.99 and is available in stores nationally. You can also find it online on Beci Orpin’s website here.