August is going to be a ‘Month of Weather’ here on We Are Scout. Good weather that is. Super-cute weather, even.
To celebrate the release of my latest fabric range called Whatever the Weather for Robert Kaufman, I’ve got four fun and easy sewing project tutorials to share. There will be bright rainbows, cute clouds and sweet raindrops. If you missed it, you can see the Whatever the Weather fabric range here – it includes fabric panels to make the dolls too.
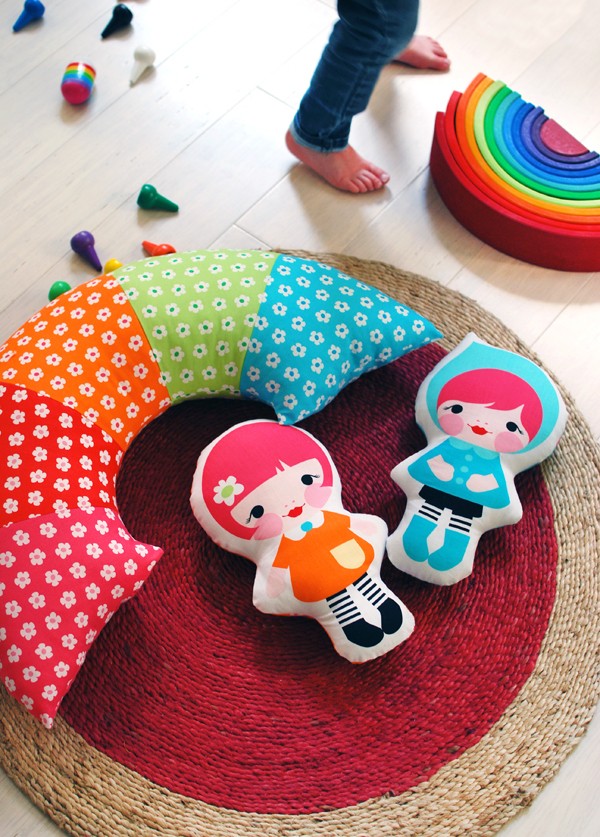
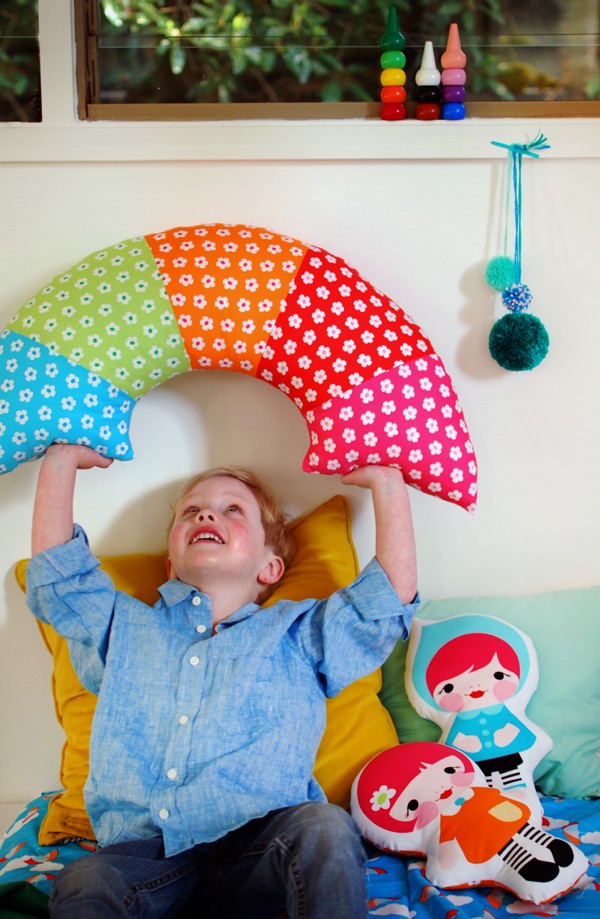
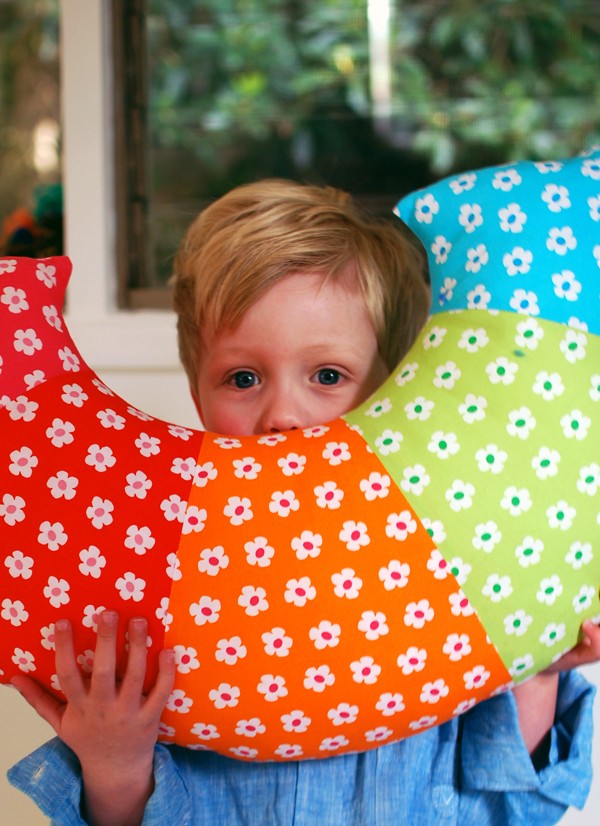
To kick off our month of weather, I’ve made a big, bright rainbow pillow. Let’s move on from black and white kids’ spaces and bring back happy and stimulating rainbow brights!
Materials
Rainbow pillow sewing pattern – download it here.
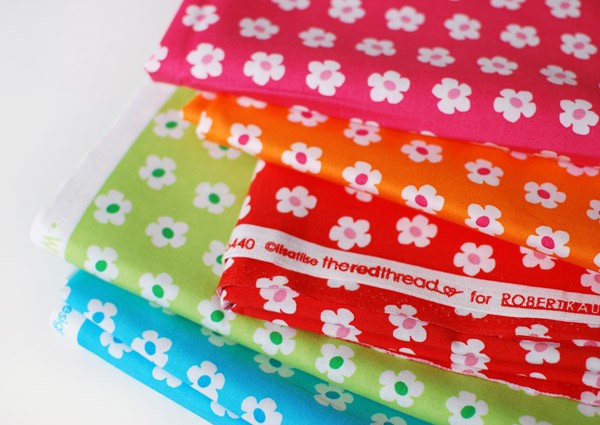
One fat quarter of each of the five flower fabrics from the Whatever the Weather range – available late August 2015 at quilting fabric stores.
Scissors (rotary cutter, ruler and cutting mat are great if you have them, but are optional)
Sewing pins
Sewing machine and thread
Iron and ironing board
Toy stuffing
Needle and thread
Let’s get started
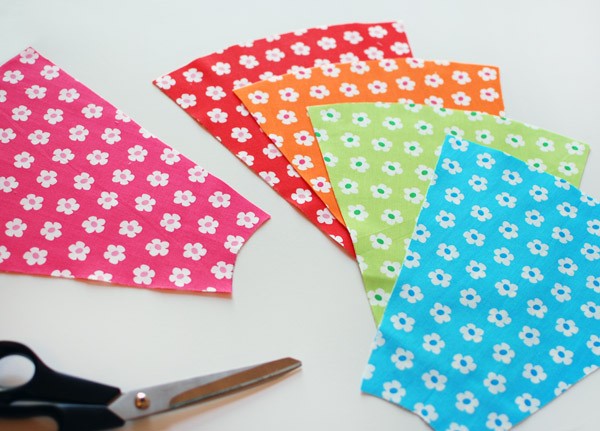
1. Download the sewing pattern and print it out. Cut out the pattern piece.
2. Cut two shapes from each colour fabric, for a total of ten pieces.
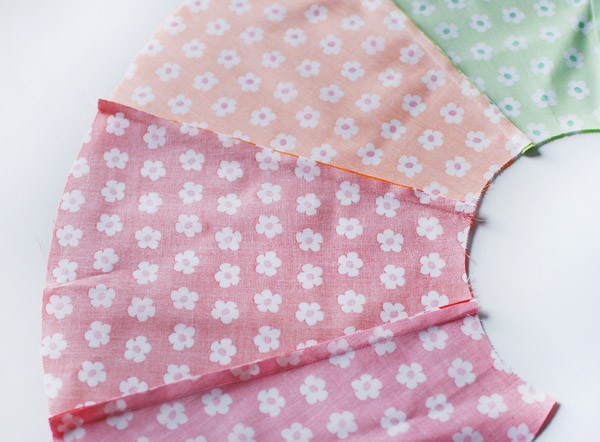
3. Take one pink and one red piece. Place them right sides together and aligned.
4. With the pink piece on top, and using a quarter inch seam allowance, join them along the right hand straight edge.
5. Open flat and press the seam flat to one side.
6. Place the orange piece on top of the red one, right sides together and edges aligned. Sew together along the straight edge.
7. Open flat and press the seam flat to one side.
8. Repeat with the green then the blue pieces.
9. Sew the remaining five pieces together in the reverse order. So start with the blue, then green, orange, red and lastly pink.
You’ll now have two rainbows that are a mirror image of each other.
10. Place the two rainbows right side together, with the edges aligned.
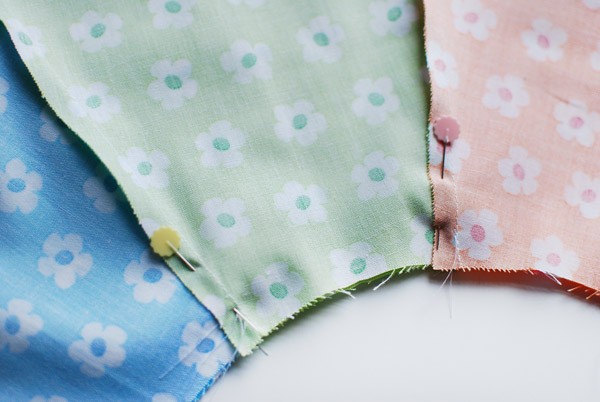
11. Pin them together around all sides, making sure that the seams are aligned. Place your pins on the seams to ensure they stay in alignment (see below).
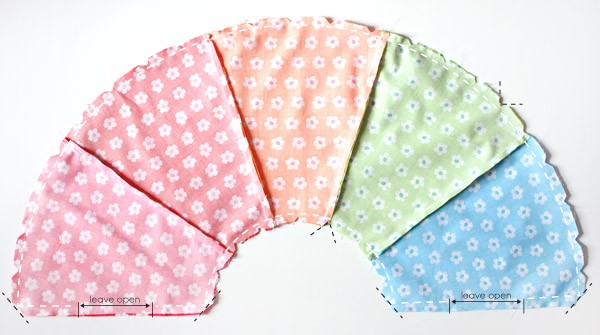
12. Sew the quarter inch seam around the rainbow, leaving openings (as shown below) for turning and stuffing.
13. To prevent the curves from puckering when you turn the rainbow out the right way, clip across the four corners, and clip ‘V’ shapes around the curves (as shown below).
14. Turn the rainbow out the right way.
15. Using small handfuls of stuffing at a time, stuff half the rainbow (to the orange section) from one of the openings, and using the other opening, stuff the other half.
16. Sew the openings closed using ladder stitch – illustrated below. Ladder stitch is a strong and invisible way to sew up the openings on softies and dolls.
Fold the seam allowance of both sides in and crease the folds. Ladder stitches go across the opening, and between the two layers of folded fabric parallel to the folded seams. In the diagram, dotted lines indicate the stitches running under the fabric.
Stitches should be about one-eighth of an inch long. Pull the thread tight every few stitches to close the opening as you go.
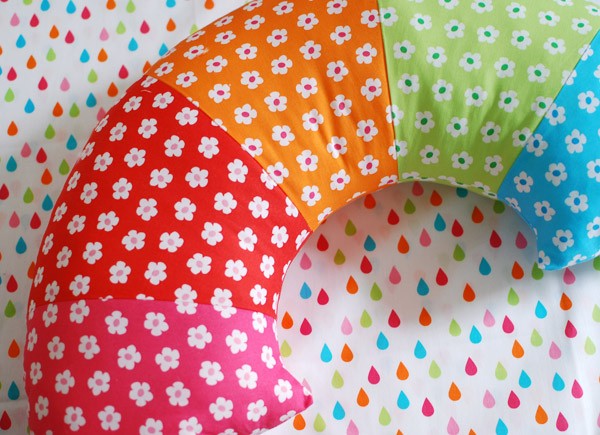
Your rainbow pillow is complete!
The rainbow makes a fun addition to a child’s bed, and the shape is super comfy for lolling around on the floor playing or watching TV. It makes a rather good oversized smile, too.
Learn how to make a doll softie from my new fabric range here.
Read all about Lisa’s new fabric range Whatever the Weather, here.
Styling and photography by Lisa Tilse for We Are Scout.
